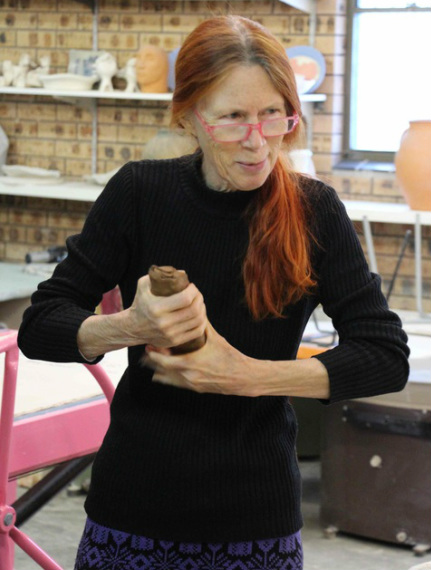
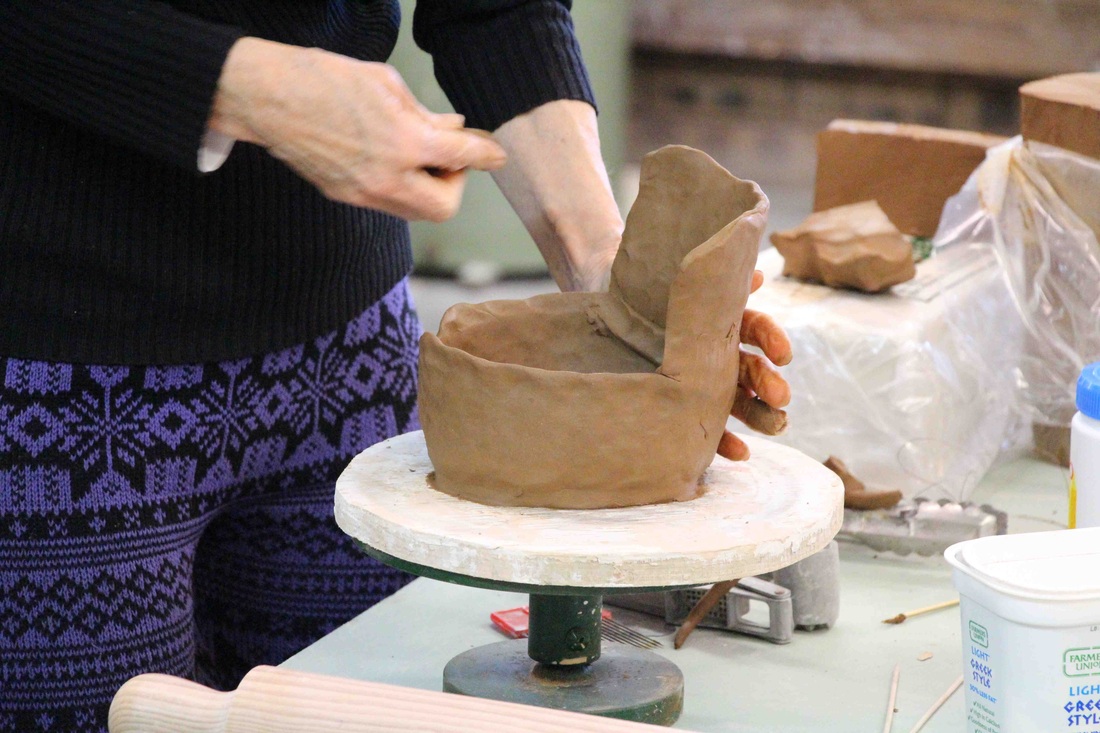
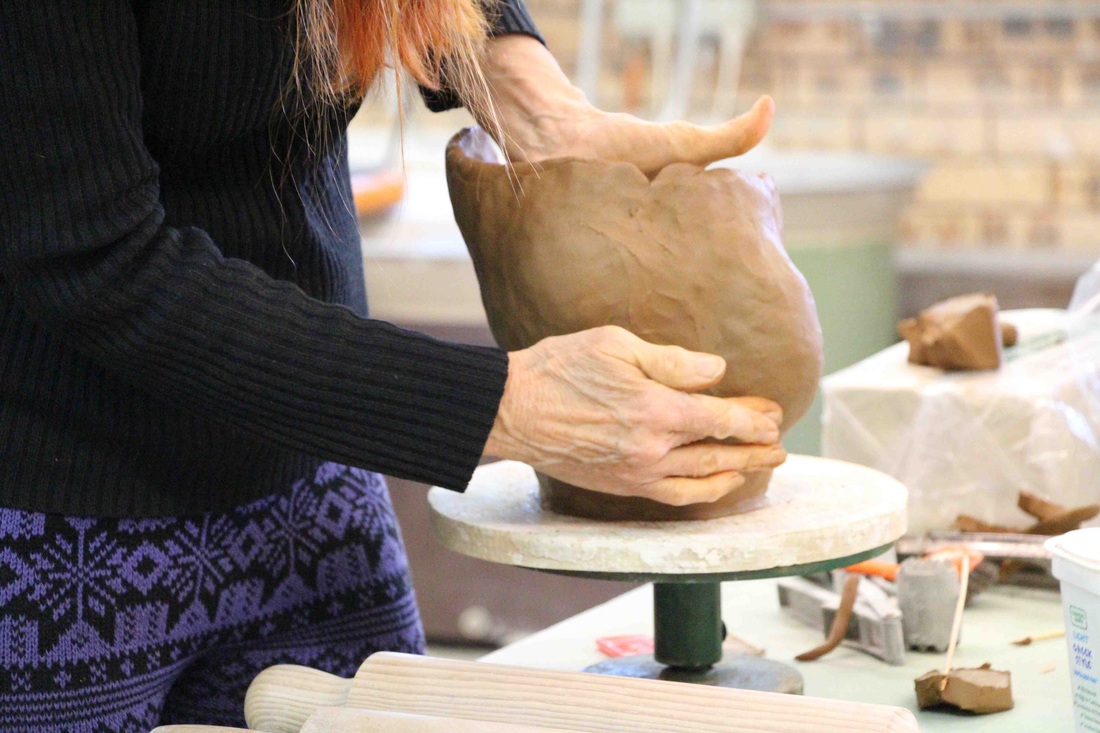
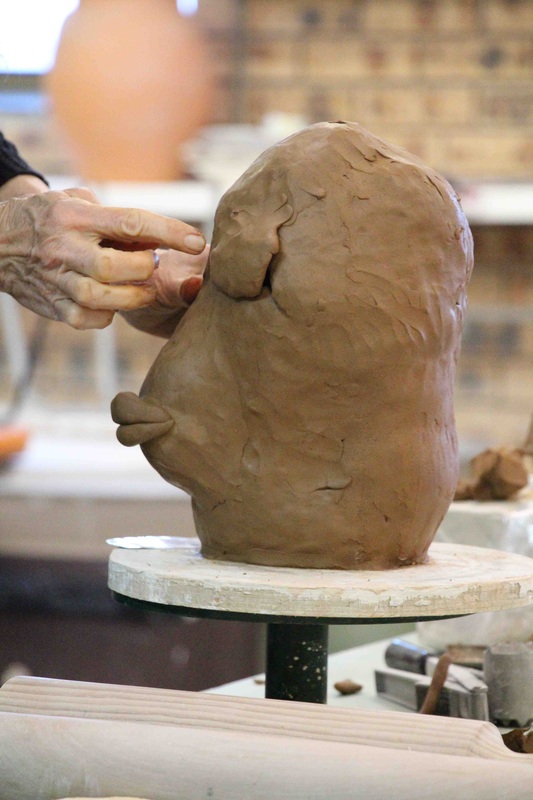
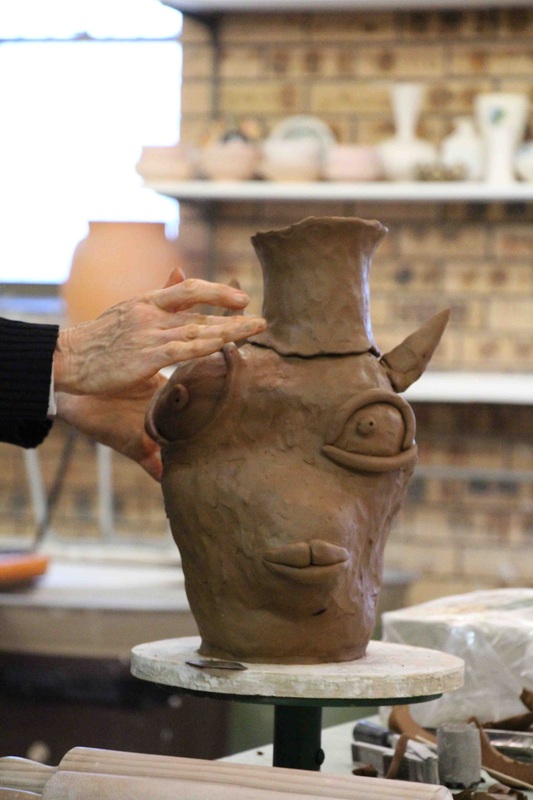
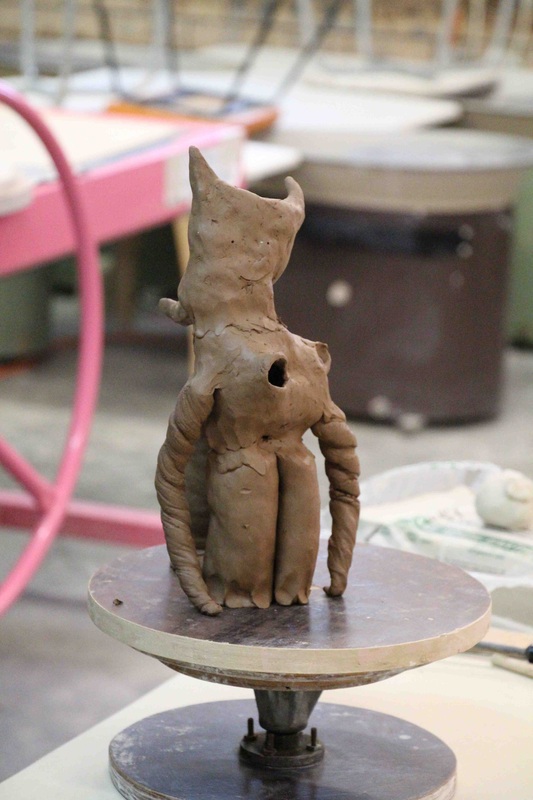
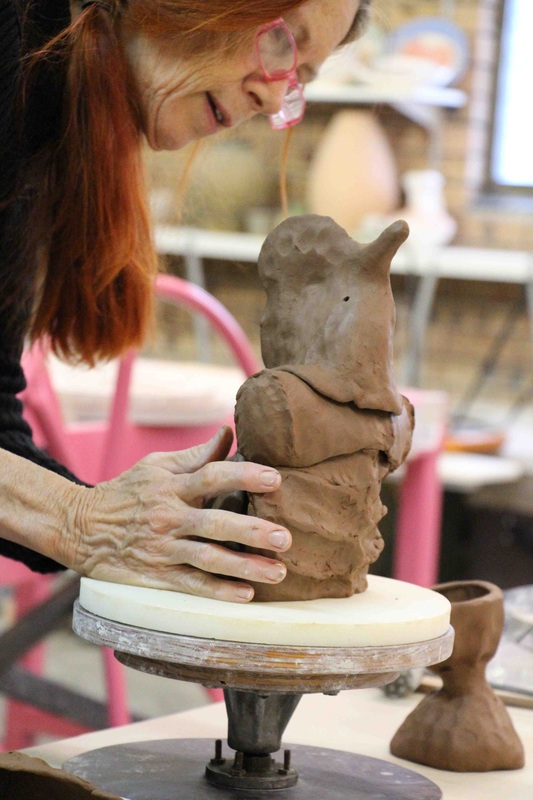
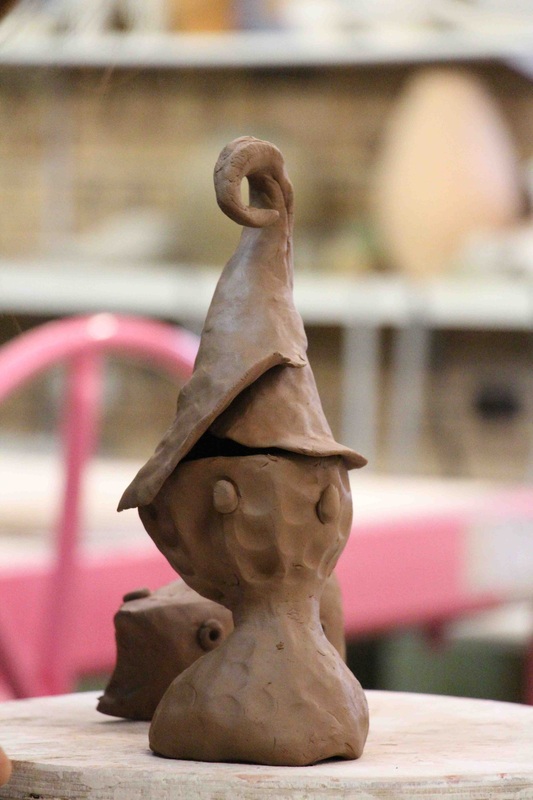
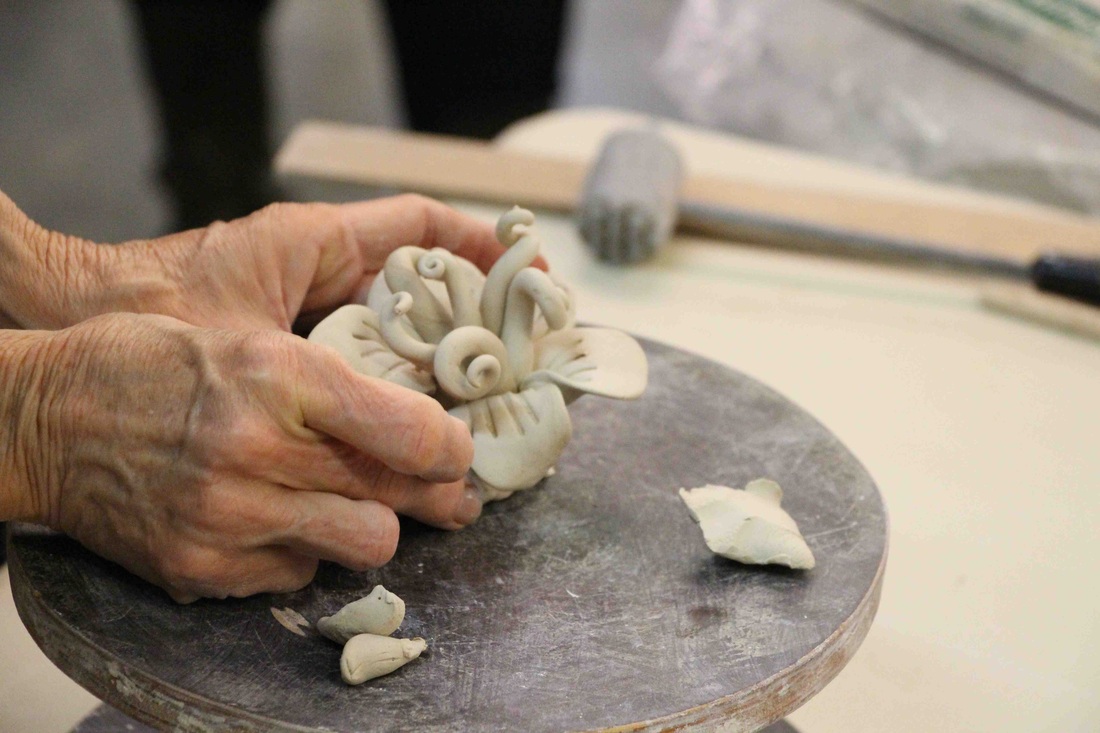
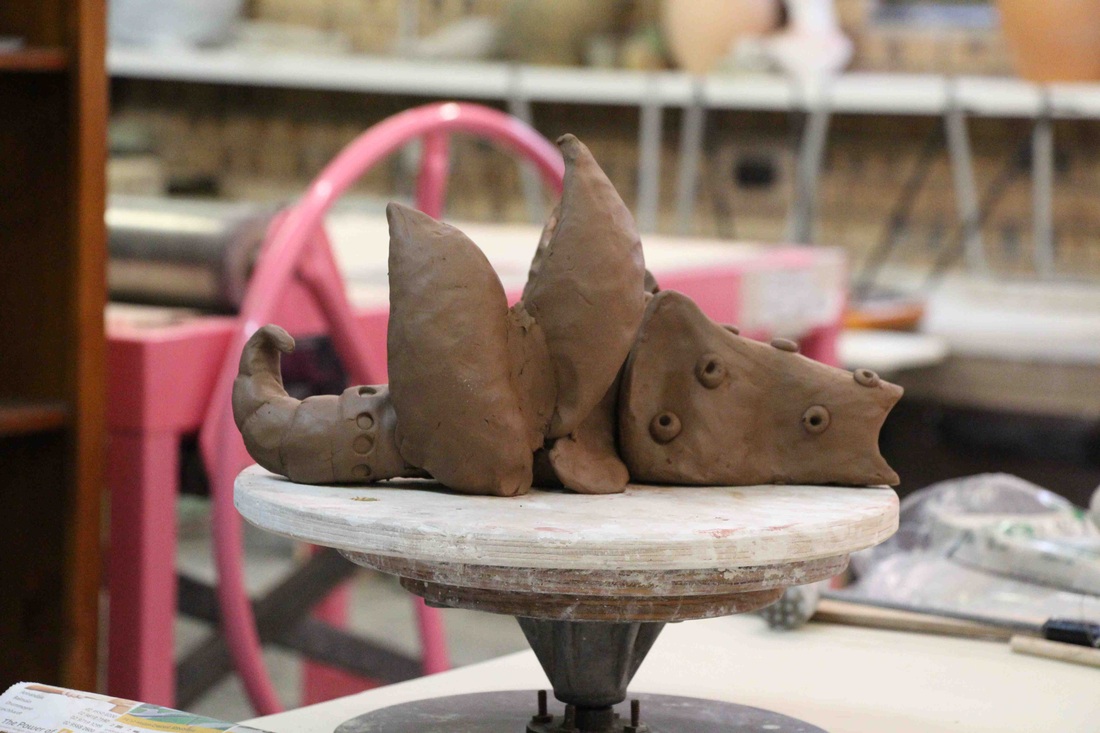
  Jenny Orchard's workshop was a wonderful opportunity to take a step back, breathe deeply and shake off those shackles of rigidity. We were given a good dose of playfulness which we put into practice when creating our own forms that Jenny pieced together to create five quirky characters at the end of the day. Check them out when you next visit the Workshop - images below. Jenny began by demonstrating her relaxed coil construction, building a Simpson-like head whose character developed as the form grew. We enjoyed participating in creating this devilish noggin.
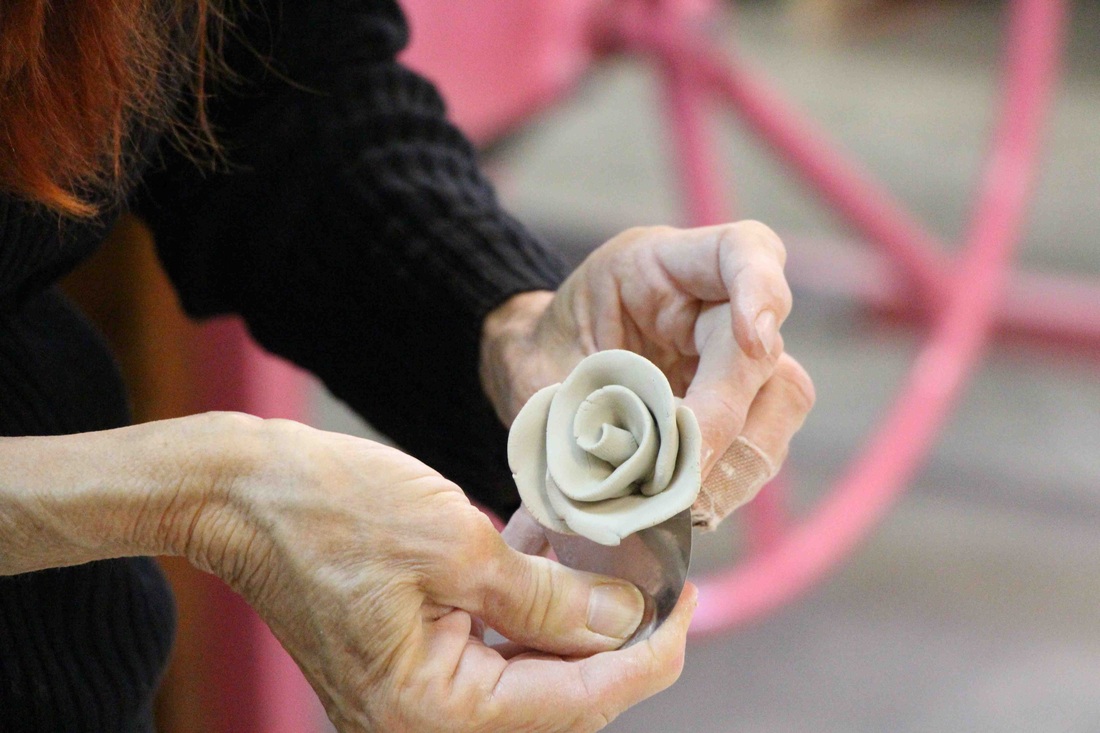
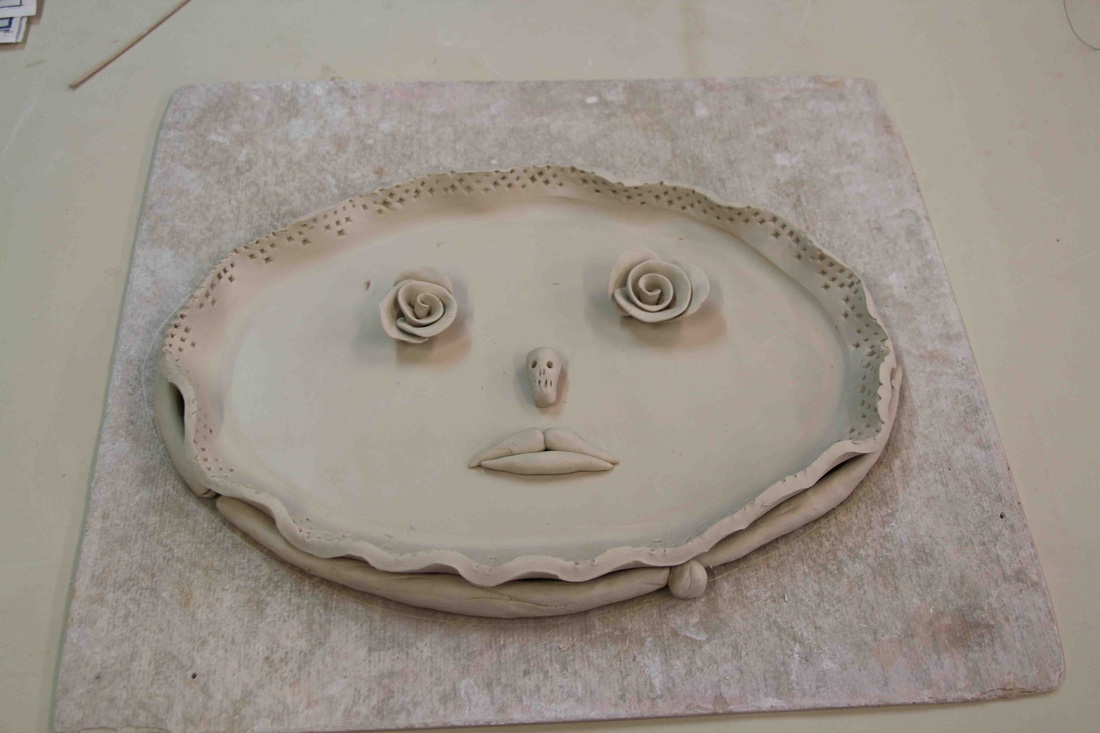
Later Jenny showed us a quick platter technique, as well as some simple flower forms - tips learned from a friend involved in cake decorating.
Relax, play and be adventurous with form.
2 Comments
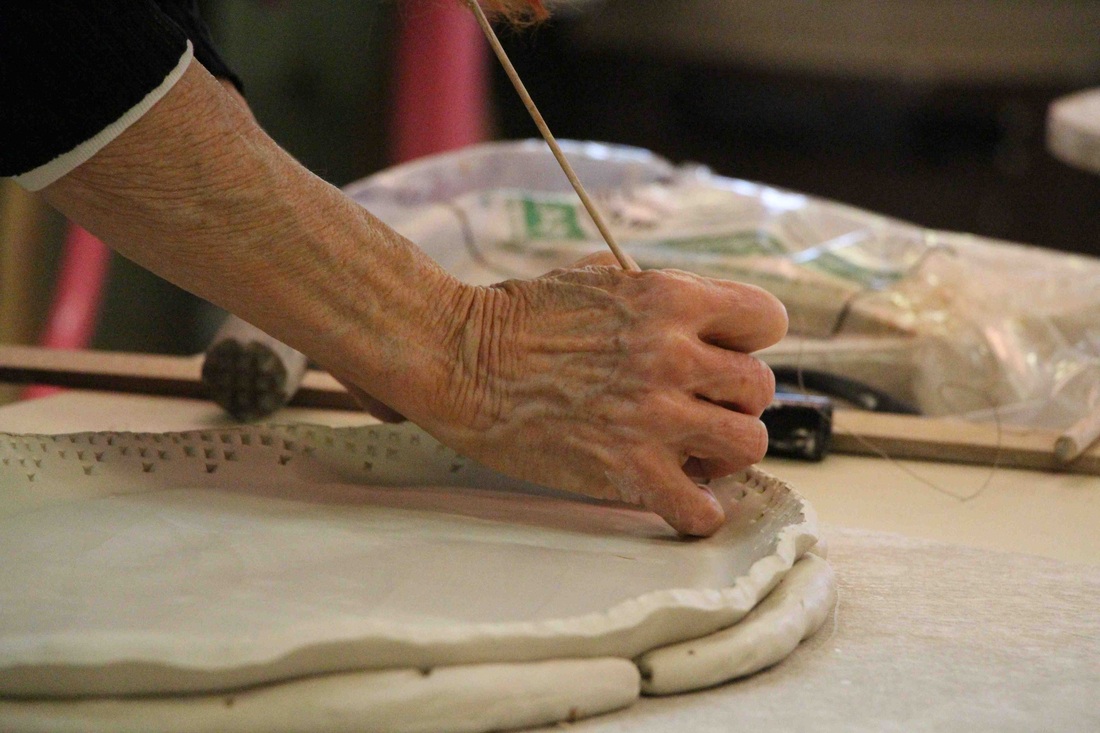
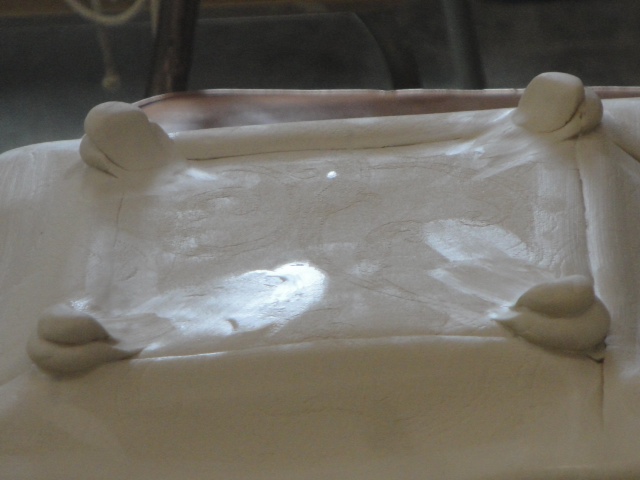
At the CCPS workshop on Saturday 15 and Sunday 16 March 2014, Claire Locker treated us to a wonderful workshop. The first day Claire demonstrated her techniques and on Sunday we had a go ourselves. Claire uses Blackwattle Porcelain Paper Clay, Gold or PB103 Paper Clay. These clays are smooth to use compared with other paper clays. However, for the workshop we had success using Keane's No 7. For colour decoration she likes to have a percentage of good quality white slip made with Limoges porcelain (or you could use Southern Ice or Cool Ice) mixed with underglaze colours. The clay stops the colour from peeling off. The ratio is clay slip 1:3 underglaze colour. When applying the colour remember three thin coats are better than one thick coat. 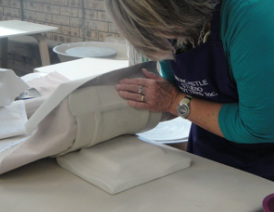 Claire placing the joined clay piece on the flop mould Claire placing the joined clay piece on the flop mould FLOP MOULD PLATE Claire showed us how to make a plate using a flop mould. First roll a slab of clay on curtain material (with a backing). Alternatively you could use a piece of carved lino or even highly embossed wallpaper to press a design onto a slab of clay to become the bottom of the plate. Drawing is also an option. Cut additional clay slab strips for the edges or rim of the plate. Working flat, overlay these strips around for the edges. If using wet clay, water may be enough to join the pieces together, otherwise use slurry. Add smaller strips of clay slabs to reinforce the base and edges. Use your fingers through a cloth to round off edges. Using a rolling pin, roll the joined, flat piece on cloth to further help in joining the edge strips to the base of the plate. Lift the joined, flat piece on a cloth and invert it onto the flop mould, placing the design side onto the plaster mould. Using a rolling pin, roll over the joined, flat piece on the mould, cut edges with a needle, always handling the slab with a cloth. 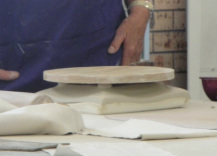 Levelling the feet using a batt Levelling the feet using a batt Feet can be added while the slab is on the mould. For example, Claire made balls of clay, a couple on top of each other, for each foot. By pressing a batt on top you can level the feet. Leave the plate on the flop mould overnight.
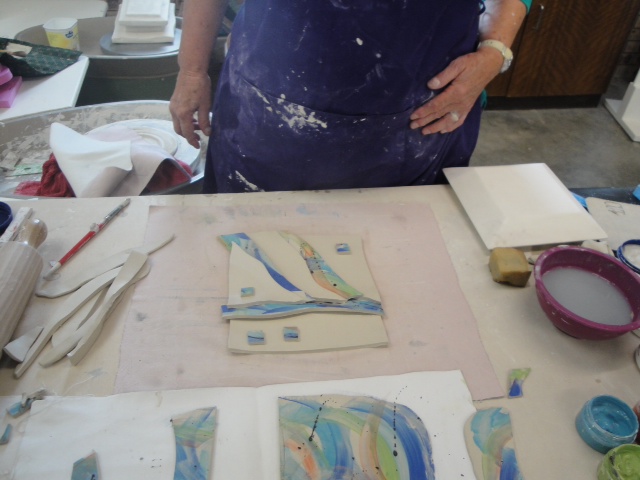
SPONGE FOAM DISH MOULD Claire showed us an easy technique to do at home. What you need - a large piece of foam approximately 8cm thick and a smaller, very firm piece of foam for pressing the base of your dish. 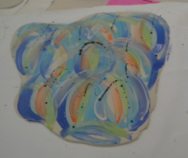 Painted slab Painted slab Onto a slab we used Claire’s underglaze/clay mix colours to paint all over the slab. We then put this slab of clay aside to dry, until the wet sheen disappeared. We rolled another slab and left it unpainted, then cut pieces out of the two slabs and overlapped them. The pieces were attached with slurry.
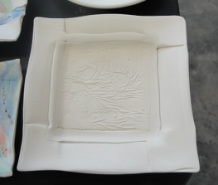
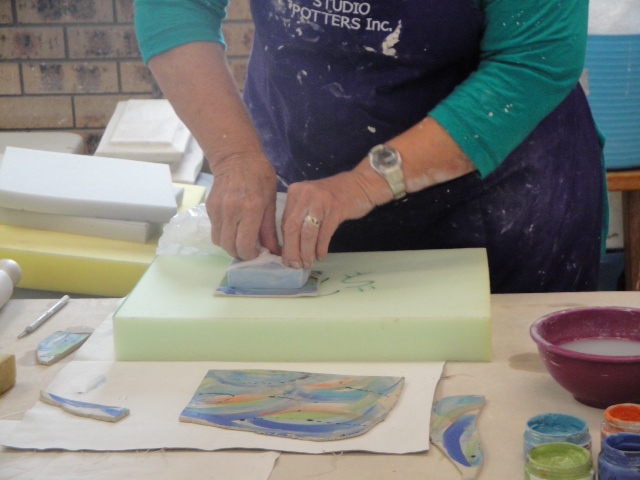
We placed a cloth on top of our new, pieced slab and rolled it to connect the coloured design to the plain pieces. We then placed the slab, without the cloth, onto the larger thick foam. We placed an appropriate smaller sized hard foam piece into a plastic bag and pressed it very firmly onto the slab. The sides naturally folded up forming a dish shape. Hey presto another freeform dish! From the leftover painted slab we cut out little squares for feet and attached them with slurry to the dish. 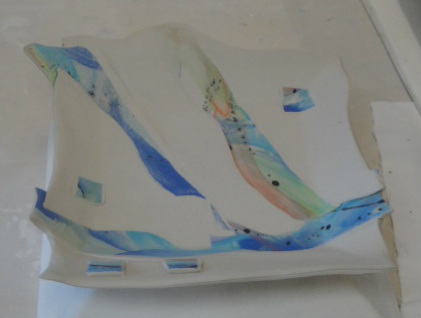
The completed dish
Painting a design on both sides of the slab is simple, just wait until the wet sheen dries before turning the slab over and painting the other side.
|
Welcome to the CCPS blog!Central Coast Potters Society is a non-profit, community organisation of like-minded volunteers who love clay. Categories
All
Archives
November 2018
|

 RSS Feed
Central Coast Potters Society
|
Workshop
10a Russell Drysdale Street East Gosford, NSW, 2250 |